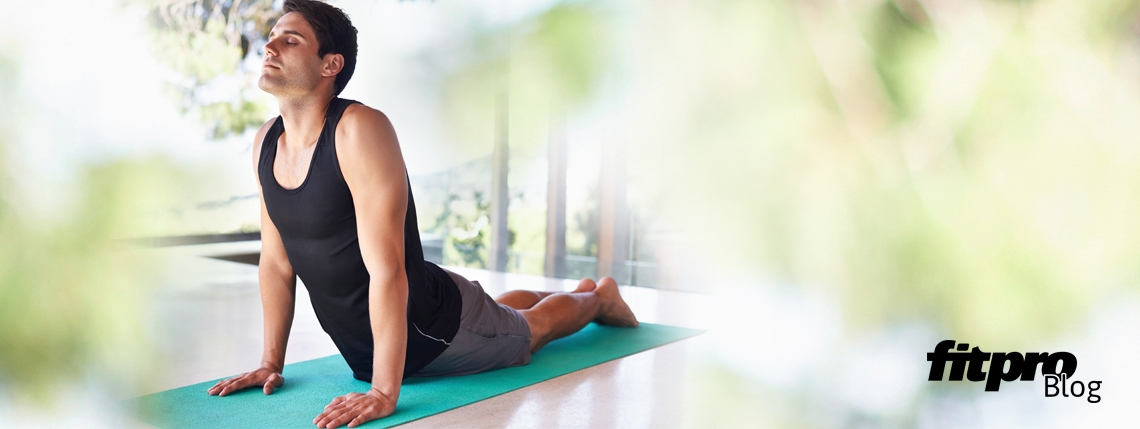
If you’ve been to a Vinyasa (flowing) style yoga class, then chances are you’ve been put through the ringer on countless chaturanga flows between postures – and even throughout the majority of the class. Lisa Greenbaum educates on how to look after the shoulders during these flows.
Chaturanga, or Crocodile Pose, is essentially a flow through a triceps push-up. With that in mind, it is critical for an emphasis to be placed on correct alignment of the shoulder joint when class participants are performing this movement. However, because of quick transitions, these important must-do cues are often missed.
Considering the shoulders are the most common area for chronic injuries in yoga, the following tips should be kept in mind so we can all enjoy longevity in our yoga practice.
- Alignment of the hands
This is the most common thing I see as a teacher and, having learnt the hard way after coming back from an elbow injury, it’s something I focus on first with my students.
Hands should be aligned to the shoulders. But, more particularly, with hands spread wide, the middle finger should be aligned with the space between the anterior and medial deltoid (or, as it’s better to say when speaking to non-fitness professionals, ‘that little divot in your shoulder when you raise your arm’.) When hands are too wide, it not only impedes our ability to maximise our core strength but, over time, will also likely lead to a shoulder impingement – and the only way to heal this is extended rest of the shoulder joint or complete abstinence from yoga.
- Shoulders back and down
This is one of the seven principles of alignment at YogaFit and a very important cue through the chaturanga movement. In an attempt to compensate for the added weight in the upper body, as the torso moves to the floor the shoulders shoot up towards the ears. While this might feel easier, you are actually taking away the opportunity to grow strength in the muscles required for this pose and thereby never really progressing. Instead, think about shifting forwards as you lower, as opposed to lowering straight down.
- Tucking elbows in
‘Tuck in your chicken wings’ is a favourite cue of many yoga teachers. Elbows moving out to the side is often seen when there is a lack of shoulder stability and strength, as noted in point 2 above. Start with rolling the shoulders back and down, drawing the shoulder blades closer together, so they gently ‘hug’ the spine. As you move forward when lowering (as mentioned in point 2 above), keep your arms tucked in against your body. Only lower as far as you can maintain this alignment and, when ready, move straight to the floor.
- Elbows in line to shoulders
When lowering to the floor, place careful attention on lowering only so far as your elbows can maintain alignment to your shoulder level or even slightly below. The moment you lower past this line, you place additional stress on your anterior deltoid and essentially ask this smaller muscle to hold all your bodyweight – another potential long-term injury waiting to happen. When you stop at roughly the 90ᵒ line of your elbow, you can be assisted by the muscles of your upper back and core while lowering, and therefore keep your shoulder joint safe. When you perform chaturanga with proper alignment, you can feel confident that you are getting stronger in all the right spots each time you practise the pose. Namasté.
This article was produced in conjunction with Australian Fitness Network.
Author bio
Lisa Greenbaum holds her E-RYT 500 in yoga and is the programme development manager for YogaFit Australia and Director of YogaFit Canada.
Where to next? Join us on the MoonWalk next May to raise money for breast cancer.


